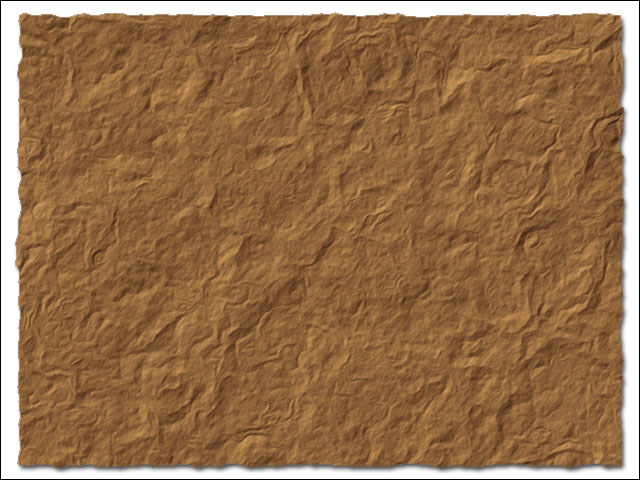
Finally something quasi-useful. Here’s how to make a crumpled paper in Photoshop really easily. To begin, launch Photoshop and create a new image. Leave the background layer; make a new layer and draw what you want to put on your paper. For this tutorial, I’m gonna be lazy and just use a solid brown fill.
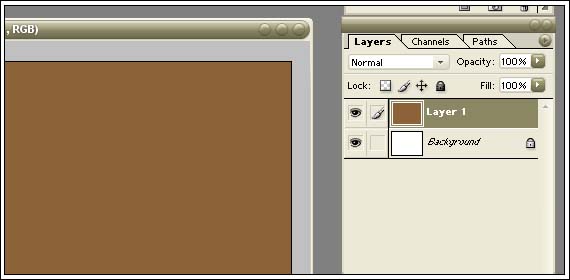
To get the torn edges effect, you need to leave some padding on your artwork layer. To do so, select the entire layer with the selection marquee, then right-click and select Free Transform in the context menu.
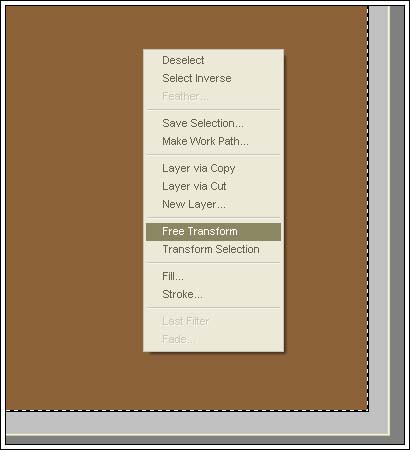
Then, shrink your layer/selection a bit. It doesn’t need to be a lot; I made mine 95% of the original size.

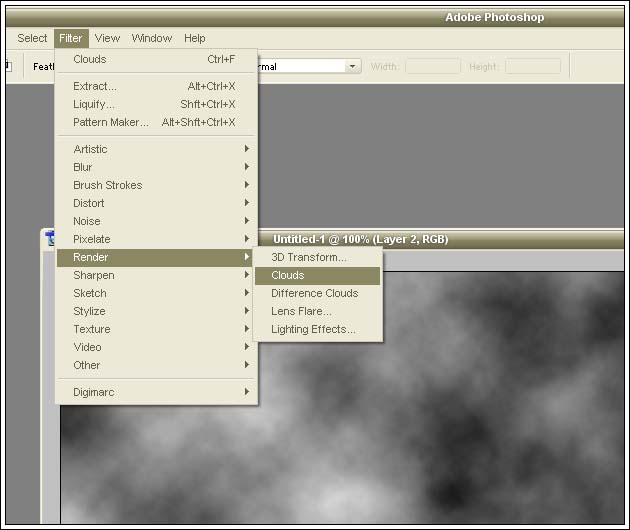
Now, we can work on the “crumpled paper” effect. Create a new layer, select black and white as your foreground and background colours, and select Filter->Render->Clouds. To get a more complex pattern with greater contrast, select Filter->Render->Difference Clouds and keep doing this until you are satisfied with your pattern.
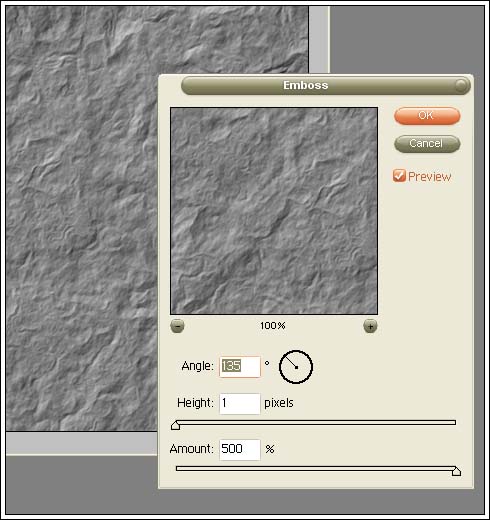
Now to make this look more papery, select Filter->Stylize->Emboss and choose your settings to create the paper effect you want. I found that small height and more amount created more convincing looks.
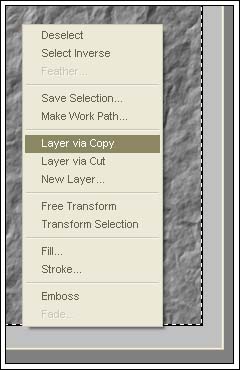
You can probably see where we are going with this, but I found that for making crumpled edges, a softer displacement pattern looked better. Therefore, we need to make a duplicate of this paper layer, and blur it a bit. Select the entire paper layer with the selection marquee, then right-click and select Layer via Copy in the context menu.
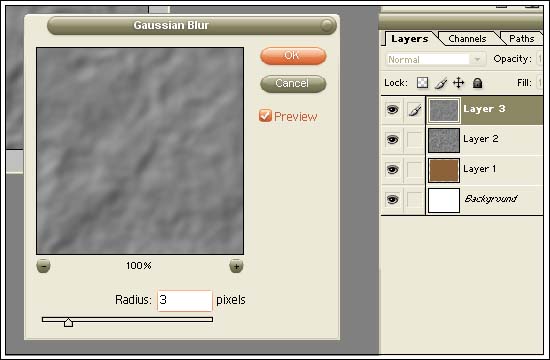
To blur this copy layer, I used a Gaussian blur. You can find blurs at Filter->Blur. Again, this step allows for some flexibility; choose settings that suit your needs. Save the Photoshop file as a separate PSD, not as the current project. This will be the displacement map and once it has been used to distort the artwork layer, it can be deleted. Delete the copy layer; you will not need this again.
Select your artwork layer in the layer manager, and then select Filter->Distort->Displace. Click ok on the default settings, and then a prompt will appear, asking for a displacement map. Select the PSD file that was saved in step 7.
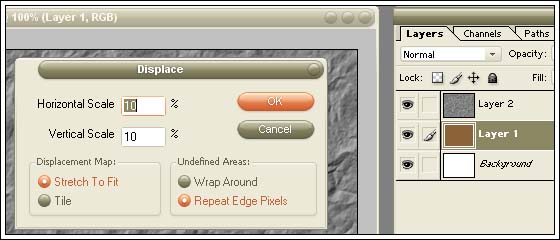
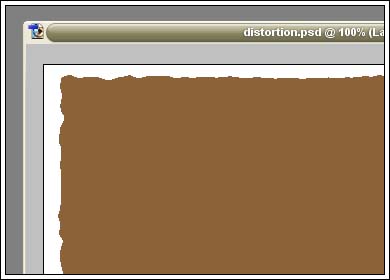
You should end up with ripples and creases in your artwork layer. Your displacement map PSD can now be deleted.
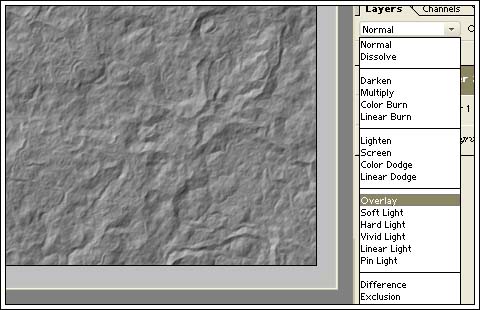
Now for the magic, select the paper layer in the layer manager and select Overlay as the blending mode.
Tada, instant parchment :D
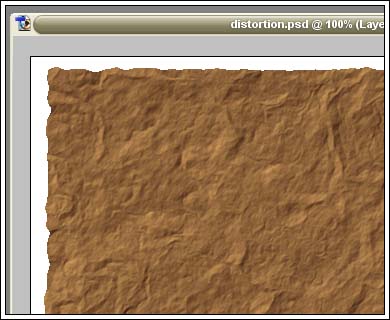
Of course, it’s not perfect, but you can touch it up with drop shadows and anti-aliased fills around the edges. But you gotta admit, you get a decent crumpled paper with almost no work.
