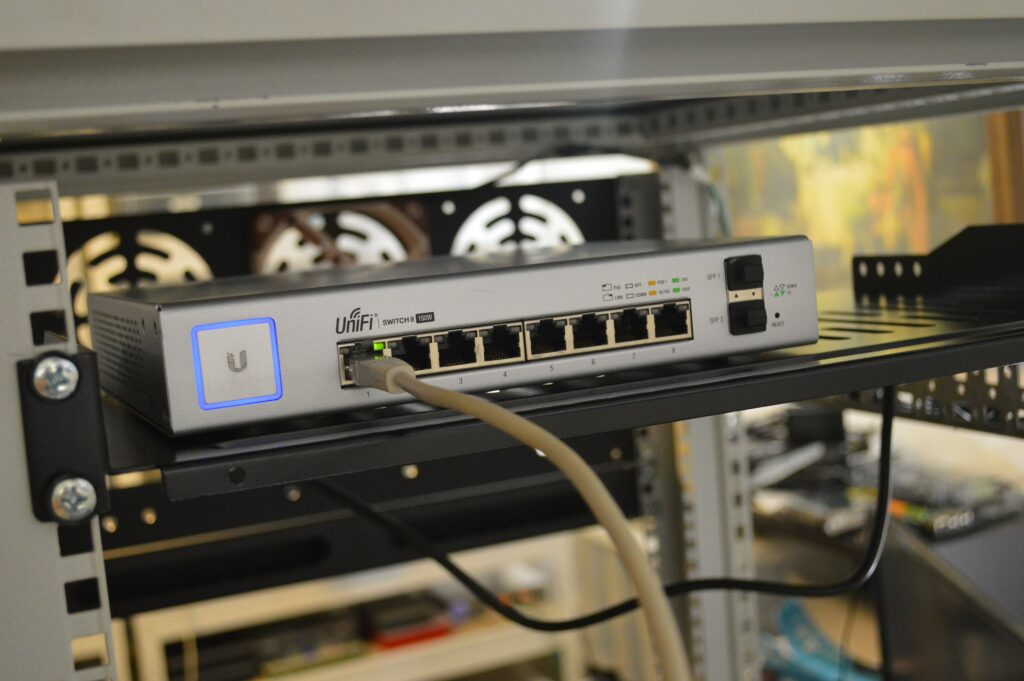
My home server is mapped by a Dynamic DNS domain provided by No-IP. When you hit the URL in a browser, my home IP is resolved and the request flows through the modem to router to server.
This works fine for requests from outside of my home network. However, a NAT loopback on the modem is necessary for this to work from within my home network.
NetGear explains what NAT Loopback is.
NAT loopback is a feature which allows the access of a service via the WAN IP address from within your local network. For example, you have a web server hosted on your local network. This web server is accessible from the outside using a public IP that is assigned to it. However, if you required internal users to access this web server using the same public IP address instead of its local IP address, your router needs to support NAT loopback.
https://kb.netgear.com/000049578/Which-NETGEAR-routers-support-NAT-loopback
Imagine my surprise to discover that the CODA modem provided by my ISP does not officially support NAT loopback! I was suddenly unable to access my own self-hosted services.
Let’s re-route that URL
External requests come to the modem and are port-forwarded to the server machine. From within the network, there’s no need for requests to be sent to the modem. Instead, requests could be routed directly to the server machine’s internal IP.
To do this quick ‘n dirty, an entry could be added to the hosts file of my workstation. It might look something like this:
192.168.0.123 my-home.my-domain.com
If you ever need a quick way of forcing the IP of a domain, add a line to your OS’ hosts file.
| Windows | c:\Windows\System32\Drivers\etc\hosts |
| Linux | \etc\hosts |
| Mac | \etc\hosts |
This works, but it isn’t scalable. Ideally, any device on my home network should be capable of accessing my self-hosted services without manual configuration. I need a more elaborate solution.
Directing traffic with a DNS server
A better way to control how domains are resolved to IP addresses is by running a DNS server on the home network. This allows me to place the above manual entry instructing that my-home.my-domain.com goes to 192.168.0.123 the internal IP of my server. I can push this as part of the DHCP configuration and any devices joining my home network will be instructed to use this DNS server instead of the ISP’s default.
A public DNS server doesn’t have any knowledge of my home network and would direct my-home.mydomain.com to my WAN IP as mapped by my No-IP Dynamic DNS domain. Using this new internal DNS server will resolve the internal IP of my server as intended.
Cloudflare explains what a DNS server is.
The Domain Name System (DNS) is the phonebook of the Internet. When users type domain names such as ‘google.com’ or ‘nytimes.com’ into web browsers, DNS is responsible for finding the correct IP address for those sites. Browsers then use those addresses to communicate with origin servers or CDN edge servers to access website information. This all happens thanks to DNS servers: machines dedicated to answering DNS queries.
https://www.cloudflare.com/en-ca/learning/dns/what-is-a-dns-server/
Meet the server
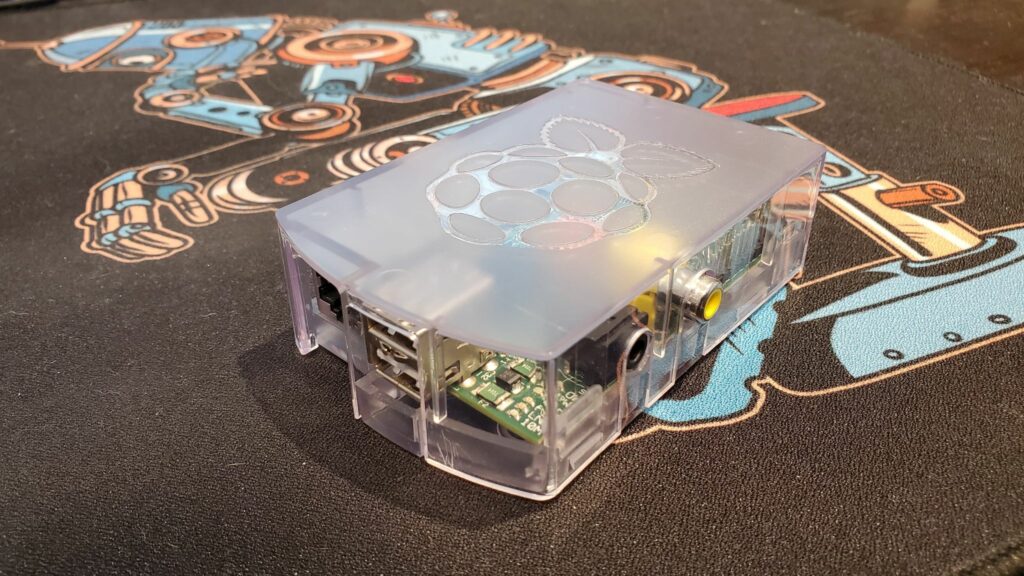
I decided to use a Raspberry Pi for this purpose due to the low profile power consumption and physical space. I also wanted a reason to take a photo of this rather photogenic chap.

Bind9 is a great DNS server so I’ve used that. To simplify the setup process now and for future deployments I’ve opted for a containerized approach with Docker. This is my Dockerfile and how I’ve built and run the container from it. I’ll share and discuss the configuration and zone files.
Dockerfile
FROM arm32v6/alpine
RUN apk update && apk add bind bind-tools
COPY --chown=root:named named.conf /etc/bind/named.conf
COPY --chown=root:named local.zone /var/bind/pri
ENTRYPOINT ["named", "-c", "/etc/bind/named.conf", "-u", "named", "-g"]
docker build --tag dnsbind9 .
docker run -d -p 53:53/tcp -p 53:53/udp --restart always dnsbind9
The configuration file named.conf defines the parameters for running this DNS server as a recursive resolver. This means that the DNS server will check to see if it knows the IP of the domain being asked for (my home network domain) and consult its forwarders if it doesn’t (all other WWW traffic).
named.conf
acl trustedclients {
	192.168.0.1/24;
	172.17.0.0/16;
	localhost;
	localnets;
};
options {
	directory "/var/bind";

	auth-nxdomain no;
	dnssec-validation auto;
	recursion yes;
	allow-recursion { trustedclients; };
	allow-query { trustedclients; };
	allow-transfer { none; };
	listen-on { 172.17.0.2; };
	listen-on-v6 { none; };
	forward only;
	forwarders {
		1.1.1.1;
		1.0.0.1;
	};
	response-policy { zone "local"; };
};
zone "." IN {
	type hint;
	file "named.ca";
};
zone "local" IN {
	type master;
	file "pri/local.zone";
	allow-update { none; };
	notify no;
};
zone "localhost" IN {
	type master;
	file "pri/localhost.zone";
	allow-update { none; };
	notify no;
};
zone "127.in-addr.arpa" IN {
	type master;
	file "pri/127.zone";
	allow-update { none; };
	notify no;
};
This sets up the DNS server to allow access from clients on my internal home network and on the default Docker network. I’ve configured the DNS server to use the Cloudflare DNS as forwarders for all WWW traffic.
Notably, I’ve specified a zone local, defined by the zone file local.zone, and configured it to be a response policy zone. This is how the DNS server is configured to override queries for the Dynamic DNS domain pointing to my home network.
local.zone
$TTL 1w
@	IN	SOA	localhost. root.localhost. (
			2019062600
			28800
			14400
			604800
			86400)
@	IN	NS	localhost.
my-home.my-domain.com		A  192.168.0.123
This configures the local zone to override queries to my-home.my-domain.com, resolving it to the internal network IP of my server instead of the WAN IP of my home network that the Dynamic DNS domain resolves to.
Push it!
The final step was to make this DNS server known to devices on my home network. My router, which sits behind the modem, offers customizable DHCP settings. I’ve set an address reservation rule for the Raspberry Pi’s MAC address to always be assigned a particular internal network IP. I’ve also set the primary DNS of the DHCP settings to be this IP. Devices joining my home network will be assigned an internal IP and told to use the local DNS server as its DNS server.
If your router doesn’t offer DNS customization within DHCP, it likely allows you to set the router’s primary DNS. This subtle difference means that devices on your network won’t be told to use the local DNS server, but they will use the router as a DNS server and the router will use the local DNS server.
Now I’m able to access my self-hosted services while at home – requests are routed directly to the server machine without ever reaching the modem.

